


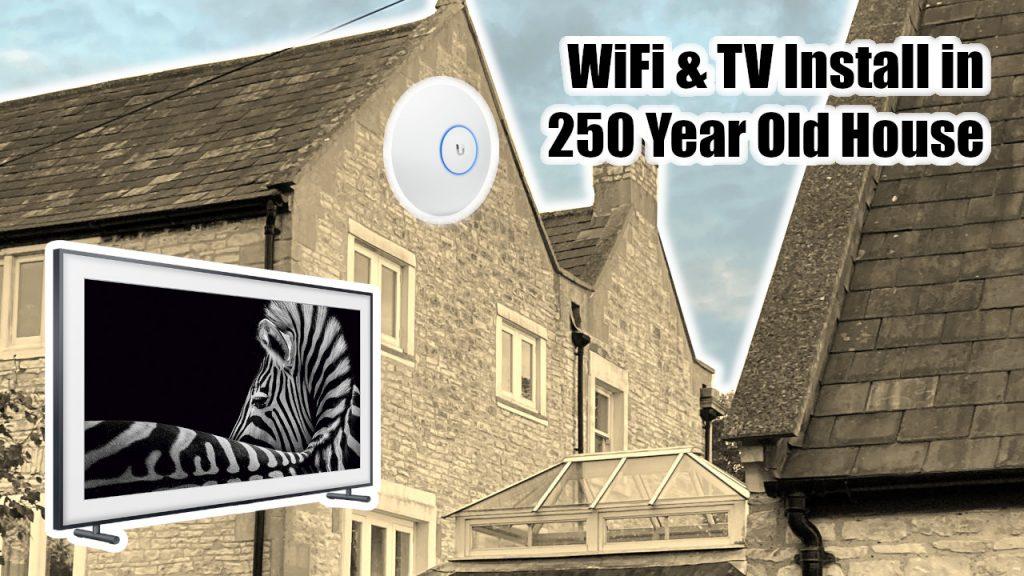
TL;DR
https://www.youtube.com/channel/UCF2Uf42guvOC0a76UPj0vpQ
Rooms with Access Points
- Snug
- Living Room
- Utility Room (in attic space above)
- Bedroom 2 hidden in cupboard fastened to the ceiling
Bulleted breakdown
- Ran data cabling behind downpipes from attic and through the wall
- Sealed up with silicon
- BT Router in upstairs bedroom with cabling going into the loft
- Trunking down the walls to hide cables
- Fitted TV in cupboard to the left hand side of fireplace on a long arm to easily hide away the TV and maintain the aesthetics of the older property.
- TV in lounge with art mode, so when motion is detected it displays an oil painting
- Access point in lounge for both this room and one above
- Removed unused PBX and cleaned up cabling, which has removed buzzing noise from the phone line.
In-depth post
Introduction
At TeamGeek, we are fortunate enough to be able to work on both Commercial and Domestic projects.
Today’s project was a 250 year old house on the outskirts of Bristol and Bath. Due to the larger size of the property, the customer was not getting good coverage throughout the home, and enlisted our help in order to try and improve this through the use of Ubiquiti’s UniFi Access Points. Alongside this, the customer also asked us to:
- install a 65” Samsung “Frame” TV with a Sonos Arc sound system in the main living room,
- mount smaller TV in a cupboard on a long-arm in small reception room
- remove old PBX and tidy up connections to remove a static noise travelling through the phone systems.
Installation of UniFi access points
To begin, it is important for us to state that in this property, the BT router comes into a house through the upstairs bedroom. This is where the router is located and therefore where most of the initial installation begins.
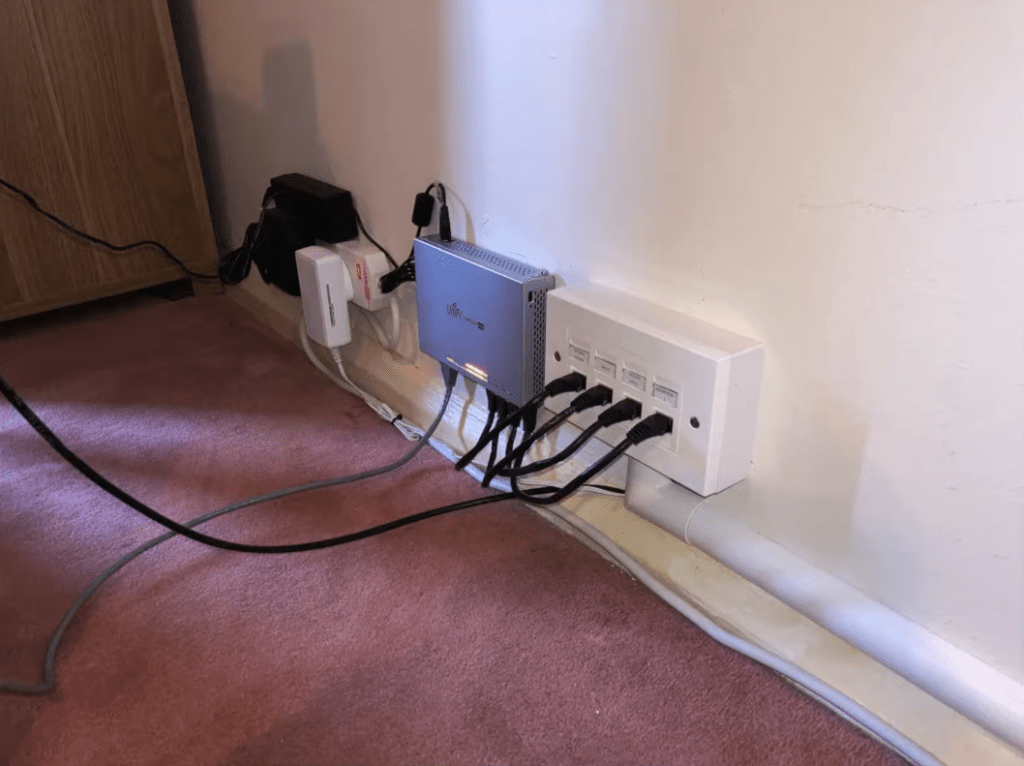
Next to the router, we installed a small UniFi Power-over-ethernet (POE) switch with enough ports to power the access points directly over the ethernet connection, thus reducing the amount of visible wires throughout the installation. We connected one port to the router for WAN internet access and ran the remainder of the cables into the loft space above the house to make accessing other rooms much simpler.
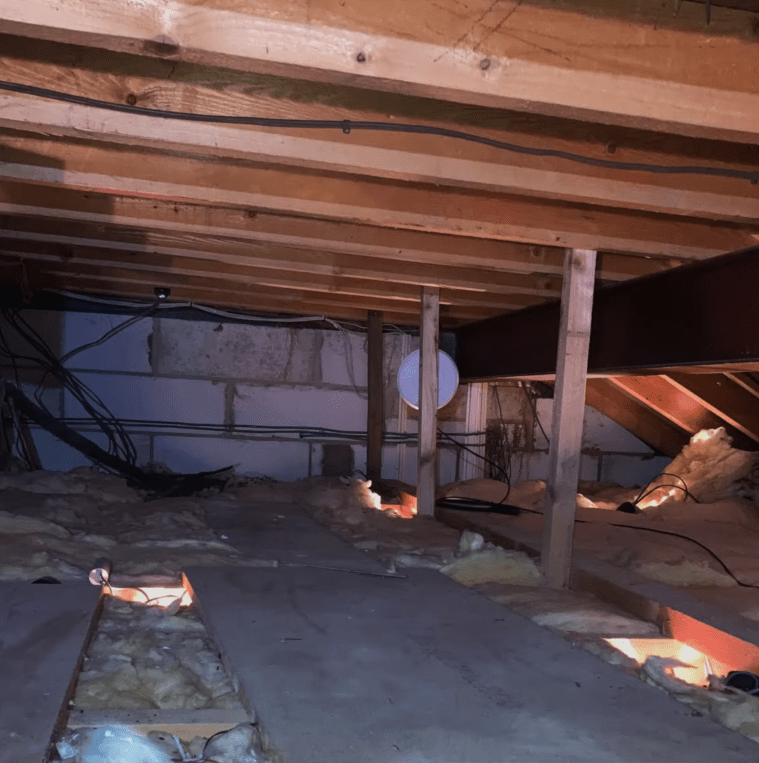
While negotiating the cabling through the loft space, we also installed an access point up here, giving the below bedroom and nearby rooms a stronger Wi-Fi connection than what they were currently receiving. Due to the walls in this property being only one brick thick through most of the site, we were able to eliminate the worry of the Wi-Fi signal being impacting when travelling through these spaces.

We then navigated the ethernet cables throughout the building by coming out of the loft, down the pipes on the outside of the building (using cable ties for good cable management aesthetic as to completely hide the wires), and back into the building through small cable holes in the walls
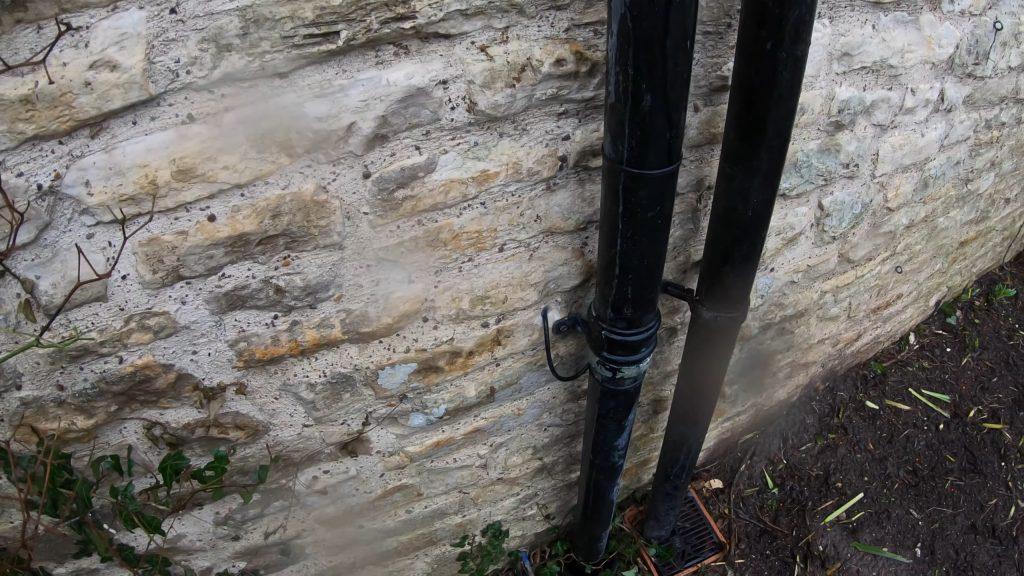

The hole was drilled as close to the pipe as possible, with an angle to allow us to hide the access point and ethernet to the best of our ability. This was then sealed with silicon to prevent a draft through the hole as well as to make the installation watertight.
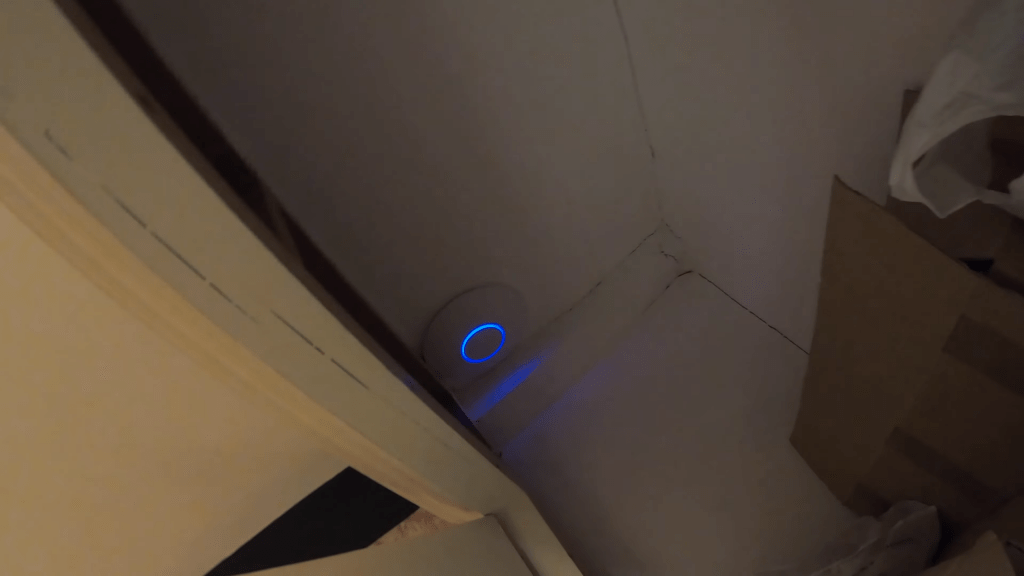
To further extend the reach of some of the upstairs bedrooms, we added an access point in a cupboard towards the ceiling of the room. This allowed us to run a shorter length (again reducing the visibility of the cabling but also the risk of the access point getting damaged through cupboard use)
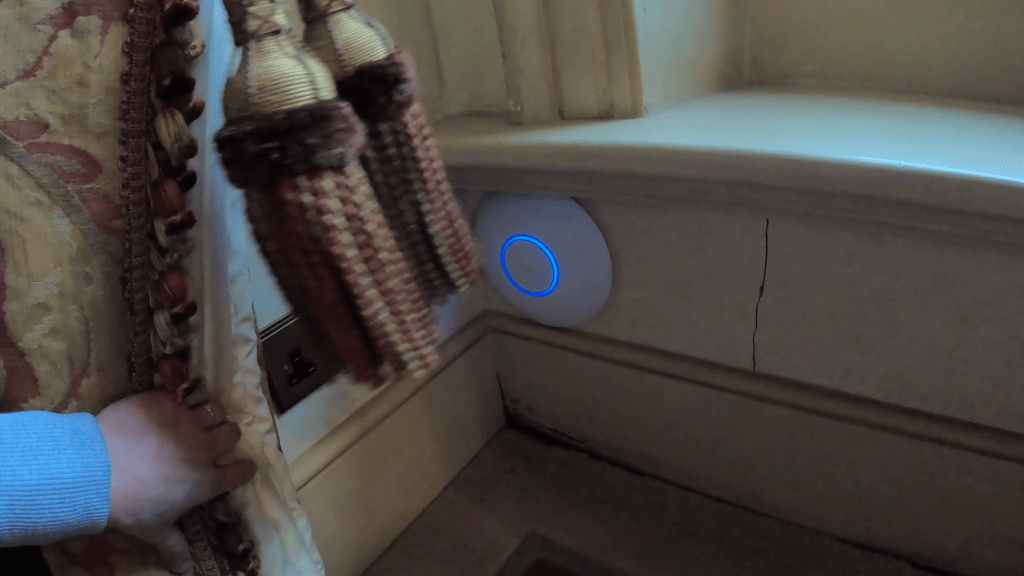
The final access point was placed in one of the living rooms, behind the curtains, allowing us to cover the 65” Smart TV and Sonos Soundbar, as well as any other devices used in this section of the house.
Mounting of smaller TV on a long arm out of view
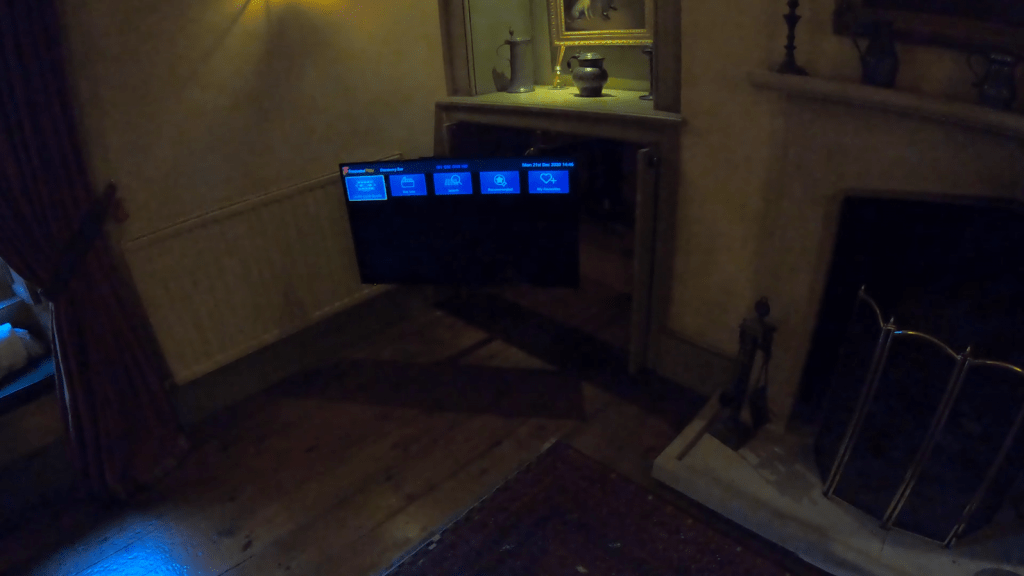
To maintain the aesthetic of the room, a smart TV was cleverly wall mounted inside of a cupboard, allowing the TV to be pulled out into the room when it is in use. When the TV is ready to be put away, it can simply and easily be pushed back inside the cupboard and the doors closed over the top of it, hiding the modern technologies out of site when the room is being used for other purposes where the aesthetic is being adhered to.
Installation of Samsung 65”

In the main living area, the customer wanted somewhere they would be able to watch their films and TV programs in comfort and with ease.
A 65” Samsung Smart TV with “Painting Mode” when ambient was mounted to the wall along with a Sonos soundbar to project high quality sound towards where the user will be sitting to ensure good coverage
Phone system
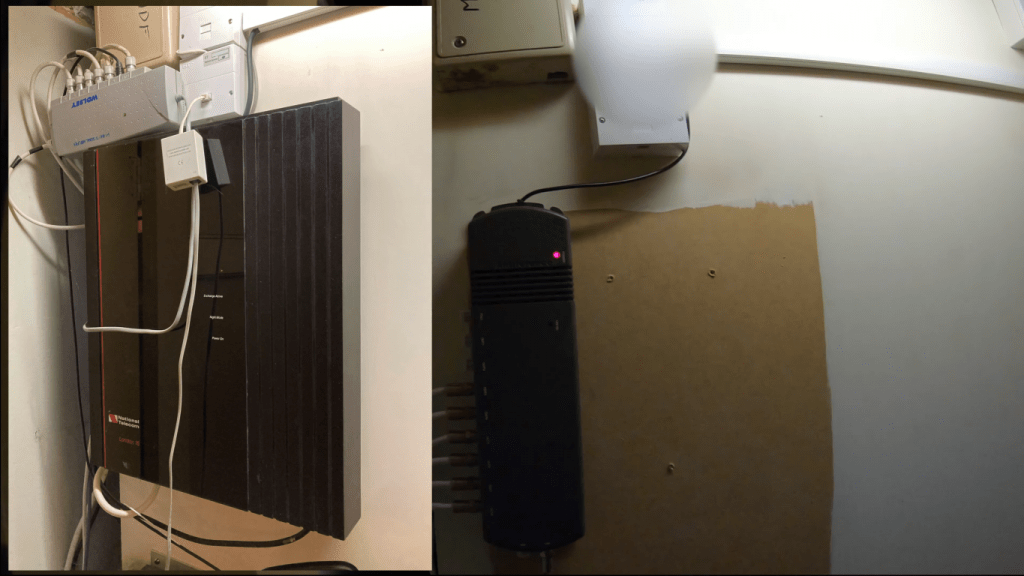
During this installation, the customer informed us that the phone system they had in place was a mess, and that they were getting a static / crackling noise down the lines whenever they were on a call. Glancing over this, the setup required some modernising and tidying up to not alone fix the static, but to be in line with the PTSN switch over in the future.
By removing the old PBX, and installing a simpler system into the cupboard, we were able to eliminate the bulky phone system that can be seen on the left, favouring a cleaner, simpler setup shown on the right. This also removed the static noise