


One of our customers, an Architects firm in Bristol, wanted the use of hot-desk style PCs to allow them to work on the group desk, while having the freedom to remove all the workstations when they needed an area to work on drawings across a large table.
To go about this, a centre cabinet was made under the desk housing enough ethernet, HDMI and power to seat 2 hot desks, 4 laptops, and spares for any other peripherals that may be connected over time.
These cables trail back to the “mechanical room” housing the networks router, switch, PCs that will be accessed over hot-desks and a Synology NAS for on-site backup.
[picture of mech room]
Each shelf houses a PC, with network (and other IT gear where access is only needed by us) housed at the top to prevent any accidental damage / downtime.
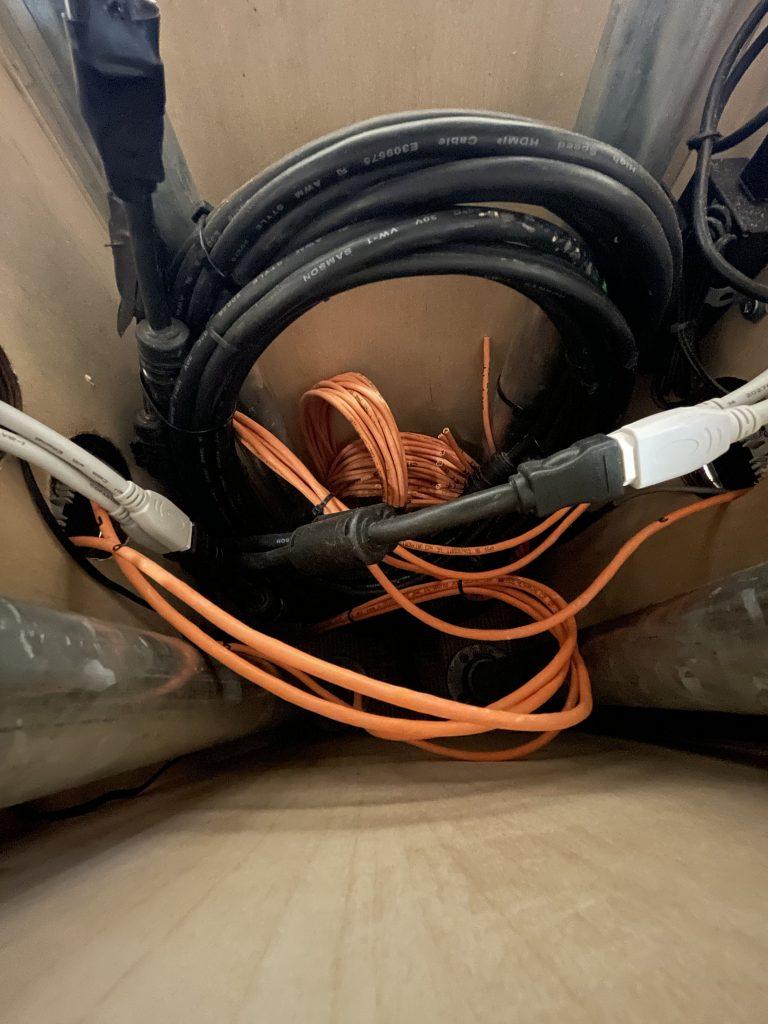
Once the hot-swap style ports were added for the hot-desks, cabling was placed inside a constructed box under desk with spares coiled up in case of expansion or damages in the future. This would allow us to rectify damages and issues if any arise, due to the cables being laid under the concrete.

To ensure the gaps between each of the cable management pucks was equal, a template was made, allowing us to stencil a circle on the desk for us to mark out points on the circumference.
Once we were happy with the way the locations were looking, pilot holes were made to ensure that we would
- Not clash with something below
- Distance looks equal
- The proposed spot was functional as well as visually appealing.

Once we were happy with the location of the pilot holes, the first 80mm hole was drilled through desk for our cable management puck. Due to this desk being a bespoke design for the architects firm, we needed to ensure that this was correct as there would only be one attempt
Video of putting puck in hole
We performed a test fit of the first puck to ensure that the hole is indeed the correct size before proceeding further. This was important as we did not want to begin making further changes to the desk if the initial cut did not work.

Once we were happy, we set out to complete the remaining holes and insert remaining pucks into desk to finalise this install.
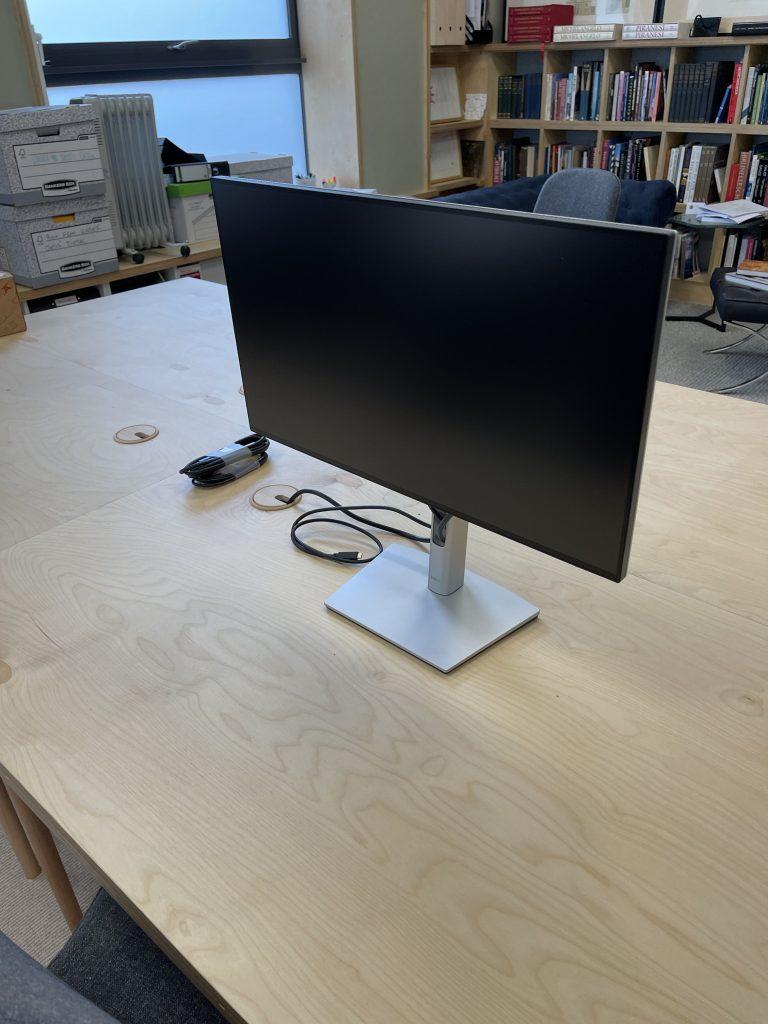
To complete the work, we installed the monitor we bought along for the job to ensure everything works as intended, and show company the use-case of this style of setup.